A sharp shovel is one of the simplest ways to make digging easier. When the blade is dull, every thrust into the soil takes twice the effort, especially in hard ground. A properly sharpened edge slips in more easily, reduces strain on your back and arms, and makes the whole job more satisfying. The difference is huge. I have been tuning up my collection of shovels lately, and it is always time well spent.
Sharpening Your Shovel
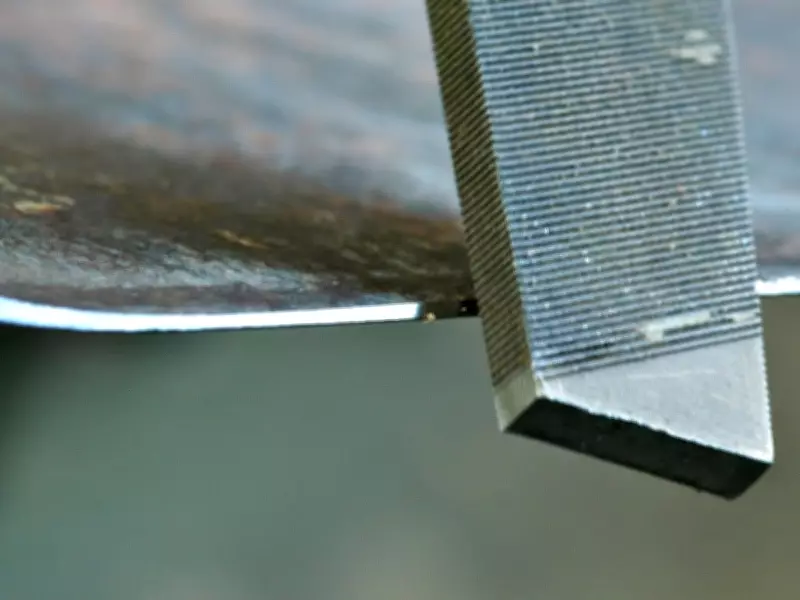
You can sharpen a shovel with a hand file, but that takes more time than most people want to invest. An angle grinder makes fast work of shovel sharpening and is easier to succeed. The key is to maintain a consistent angle and avoid removing too much metal. You do not want a knife edge because it will dull too quickly. A shovel works best with a fairly steep bevel, something in the range of about 60 to 75 degrees from square. That gives you an edge sharp enough to bite into the ground but still stout enough to stand up to rocks, roots, and general hard use. Sharpening is only part of keeping a shovel in good shape.
Surface Maintenance with Boiled Linseed Oil
Surface maintenance matters, especially if the tool has a wooden handle. One of the best treatments for both the wood and metal of a shovel is boiled linseed oil. On wood, it prevents cracking, helps resist moisture, and leaves the surface looking better and feeling nicer in your hands. Old, dry handles often come back to life beautifully with a coat or two of linseed after a light sanding. Boiled linseed oil is also great for metal parts. This is worth doing because linseed oil oxidizes, gradually getting hard over three or four days into a clear, non-greasy film. That film offers very worthwhile protection against rust. It is a simple, old-fashioned treatment, but it is my go-to approach because it works so well.

Applying the Oil
Applying the oil is easy. Put some on a cloth and rub it thoroughly into the handle and over the shovel blade and socket. That is it. I do not wipe off excess, but rather leave it to harden. You get a tool that not only performs better but also looks cared for.
Repairing Wooden Handles
Another advantage of wooden-handled tools is that the handles can usually be repaired or replaced when they break. That is not always possible with fiberglass or all-steel tools. I recently repaired a shovel with a broken handle that had snapped off right where it enters the shovel head. The fix took about 20 minutes. First, I used an angle grinder to remove the heads of the old rivets, then I drove the remaining rivet pieces out with a punch. After that, I tapered the broken end of the handle until it fit properly back into the shovel head. If replacement shovel rivets are not in your local hardware store, you will find lots on Amazon. Once the fit was right, I drilled new holes through the wood to match the holes in the metal socket. Then I installed replacement aluminum rivets, popped them into place, and peened the heads over until everything was tight and solid. The shovel was back in service quickly, a little shorter than before, but the repair is strong. Repairability is one more reason wooden-handled digging tools still make sense. They can be sharpened, oiled, repaired, and kept going for years.