Simplify Your Cottage Water Pump Priming This Spring
For many cottage owners, the annual ritual of priming the seasonal water system is a tedious and time-consuming chore. However, with the right approach and tools, this process can be transformed into a quick and efficient task. This guide outlines a proven method that has worked flawlessly for over 25 years, ensuring your water pump operates smoothly each spring.
Understanding the Priming Challenge
Seasonal water systems typically draw water from a lake or river. To prevent the intake pipe from cracking during winter, the line is drained in the fall. Come spring, the entire intake line must be completely filled with water to allow the pump to function. Even a small air pocket can disrupt pumping action, making priming essential yet often frustrating.
Step-by-Step Priming Solution
Step 1: Install a Priming Valve

Begin by splicing a one-inch valve and elbow into the intake line as close to the lake-end as possible. This valve remains open during priming and closed for the rest of the season, providing a dedicated access point for water introduction.
Step 2: Choose Your Priming Pump
Acquire a hand-operated or battery-powered pump to push water into the intake line. A hand-operated bilge pump, commonly used for boats, is an excellent choice. Alternatively, a cordless electric transfer pump works well. Avoid drill-operated pumps, as they often lack the necessary water flow capacity.
Step 3: Connect and Pump
Connect the priming pump to the installed valve. Open the valve and remove the vent plug from the top of your main water pump to allow air to escape. Start pumping water from the lake into the intake line. Continue until the line is full and water emerges through the open vent.
Step 4: Secure and Test
Replace the vent plug on the main pump. Place the intake line into the lake near the shore, keeping the priming pump connected. Turn on the main water pump and let it draw water. Monitor for any changes in sound, which may indicate an air pocket. If needed, operate the hand pump while the main pump runs to push air pockets through.
Step 5: Finalize Setup
Once confident no air remains, close the priming valve, remove the priming pump, and position the intake line in its final seasonal location further out in the lake.
Avoiding Common Finishing Mistakes
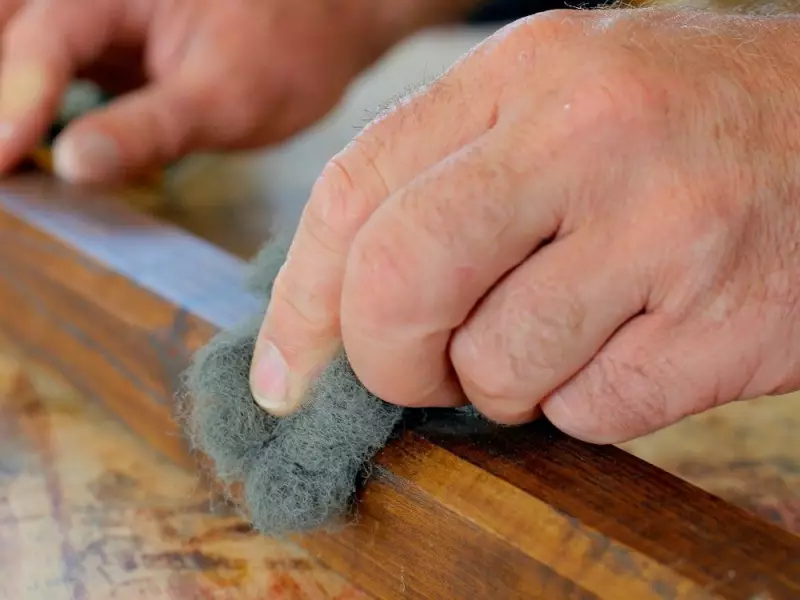
In a related query, a cottage owner noted brown stains on birdhouses finished with water-based exterior urethane and steel wool. The issue stems from residual steel wool particles that rust over time, causing discoloration. For future projects, consider using 240-grit sandpaper for smoothing between coats or opt for exterior-grade finishing oils or Ecowood Treatment, which eliminate the need for stripping before refinishing.
By following these steps, you can streamline your cottage water pump priming and avoid common maintenance errors, ensuring a hassle-free start to your summer season.